The Finished PondRab Dingwall | |||
The pond was built 3 years ago in 2003 (described in Part 1 - Building a Pond) and I thought you might like to hear how things have developed and what I would do differently if I was to start again | |||
 2003 |
 2006 | ||
|
| |||
 |
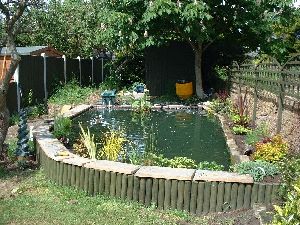
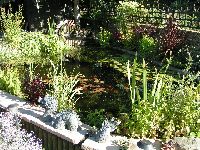
The pond as it was when the first article was written We still have not cemented the coping stones to the wall or finished the side that backs onto the shed but we have planted out the rear bed and installed a few marginals and lilies. Once the waterfall arrives and is sited we can move the filter box and finish the edging and do the landscaping in front of the shed. Other than that the pond is done and is home to a few small goldfish - until it settles and matures | ||
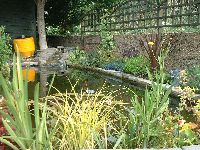 |
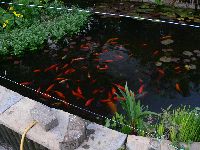
Waterfall and Filter My wife kindly bought me a nice fibreglass waterfall which was duly installed. The filter box was also moved behind the chestnut tree and the filter return pipe was hidden under the waterfall and then runs below ground along the back edge to feed back in at the opposite side of the pond. We entered our Club's Pond Competition and came 6th (out of 6) | ||
 |
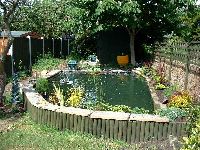
One year old One year later the plants both in and around the pond are beginning to fill out and we again took 6th place in the annual pond competition (but out of 9 entries) | ||
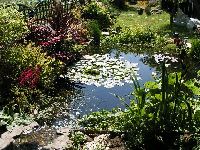 |
Two years old - 2005 Another year on and we moved up to 4th place in the annual pond competition but this time there were nine entries Note the heron deterrent over the pond - soon to be replaced by a pergola | ||
 |
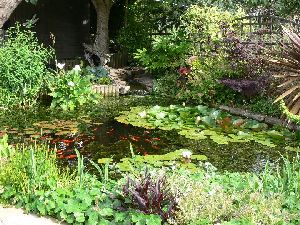
Three years old - 2006 After a long cold winter and a very late spring everything in and around the pond is later than usual in springing into growth and bloom - everything except the water cress and frogbit I made the mistake of introducing last year. I have just dragged 10 bin liners of it out for compost. The pomd competition is next week and I don't think the pond looks as good as it did last year | ||
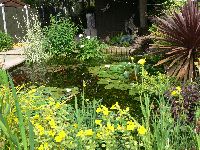 |
Three years old - 2006 One week on the pond is looking better since I dragged out the water cress and as much of the frogbit as I could, but I still don't reckon that it is as good as last year but having just made the tour with the judges (they judging, me taking photos) - nobody's pond does. Idon't know the result yet I just heard -- I won!!! | ||